
How to Replace a Drywall Ceiling
Replacing a drywall ceiling is a bigger job than patching one damaged area. Once ceiling drywall gets soft, sags, cracks along seams, or holds old water damage, a patch is not always enough. In many cases, full replacement gives you a flatter surface and a stronger result.
At MrWalls Drywall & Painting, we replace drywall ceilings after leaks, sagging, old repairs, heavy cracking, and other ceiling damage. If you are trying to understand how to replace a drywall ceiling, here is what matters.
When a Ceiling Needs Replacement
Not every damaged ceiling needs to come down. Some problems can be patched. Others call for full replacement.
Ceiling replacement often makes sense when:
The drywall is soft from water damage
The ceiling is sagging
There are large damaged sections
Old repairs keep cracking
The seams have failed in several places
The ceiling has been opened many times for plumbing or electrical work
The surface is too rough to save with repair work alone
A stain by itself does not always mean replacement. Soft board, loose tape, and sagging do.
Start With the Cause
Before replacing a drywall ceiling, the cause of the damage needs to be fixed. If the ceiling got wet from a roof leak, plumbing leak, bathroom overflow, or ice dam, that problem has to be handled first.
There is no point hanging new drywall under an active leak.
Check What Is Above the Ceiling
Once the damaged board comes down, the area above it needs to be checked. Wet insulation, mold, damaged framing, loose wiring, and plumbing issues often show up after the drywall is removed.
This step matters because ceiling damage is often wider than the visible stain or crack below.
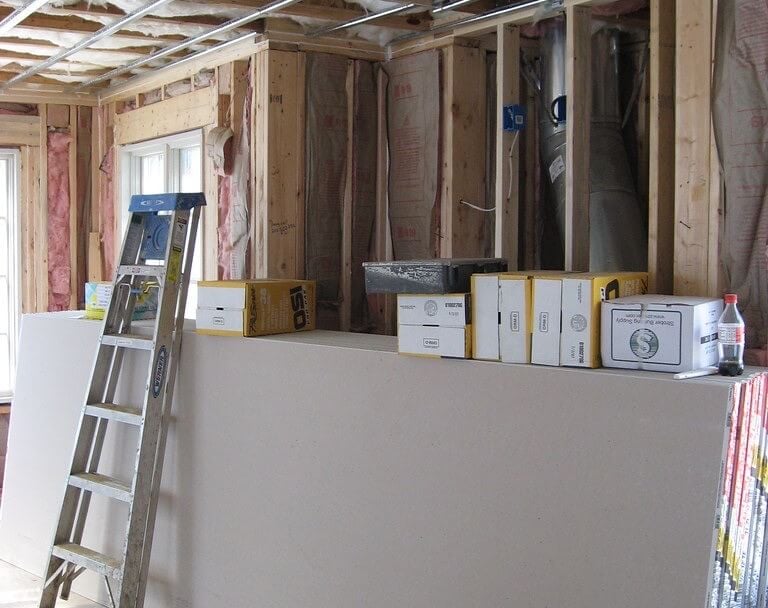
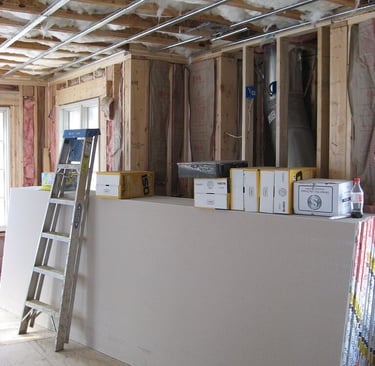
Take Down the Damaged Drywall
The damaged drywall has to come down cleanly. Some ceilings need full removal. Others need one section removed back to solid framing and sound board.
If only part of the ceiling is being replaced, the cut lines need to land where the new drywall can be supported properly. Weak edges make for weak repairs.
A clean tear out also helps keep the next steps straighter and easier to finish.
Inspect the Framing
Before new ceiling board goes up, check the framing. If joists are uneven, loose, or damaged, the new ceiling will show it.
A flat ceiling starts with decent framing. Drywall follows whatever is underneath it. If the framing is off, the seams and low spots will be harder to hide later.
Install the New Drywall
New ceiling drywall should be laid out with tight joints and good support. The board needs to be lifted into place, held flat, and fastened evenly.
Ceiling drywall is heavy overhead. Many homeowners who look up how to replace a drywall ceiling find that hanging the board is the hardest part of the job. A drywall lift helps a lot. Without one, it is easy to crack edges, misalign seams, or let the sheet sag while fastening.
Tape and Finish the Seams
After the new drywall is up, the seams need tape and joint compound. This part takes time. A ceiling does not hide rough finish work well.
The compound needs to go on in coats. Each coat needs time to dry. Then the surface gets sanded and checked for ridges, low spots, and visible joints.
If the finish is too heavy, the seams show. If it is too thin, the tape can flash through.
Prime Before Paint
Fresh drywall and joint compound need primer before paint. Primer helps even out the surface so the finish coat does not dry dull in one area and shiny in another.
This step is easy to skip and easy to regret. A ceiling that looked fine before paint can show every repair line after paint if it was not primed right.
Smooth Ceiling or Textured Ceiling
Some replacement ceilings need to be finished smooth. Others need texture matched after the drywall work is done.
A smooth ceiling needs tighter finish work because side light shows more flaws. A textured ceiling still needs the drywall and seams underneath to be flat, or the patch line will still show.
We handle both smooth and textured ceiling replacements.
Common Problems With DIY Ceiling Replacement
The most common issues are sagging sheets, bad seam layout, rough joints, visible sanding marks, poor cuts around lights, and trying to save drywall that should have been replaced.
A lot of trouble starts with one bad choice. Trying to patch weak ceiling board instead of taking it down.
Why Homeowners Call MrWalls Drywall & Painting
We replace drywall ceilings after roof leaks, plumbing leaks, bathroom damage, failed patches, and old ceilings that have too many cracks and weak spots to keep repairing.
We know how to cut out damaged sections, check what is above the ceiling, hang new board, finish the seams, and get the surface ready for paint.
Need Help Replacing a Drywall Ceiling
If you need help with how to replace a drywall ceiling, MrWalls Drywall & Painting can help. We replace damaged ceiling drywall, repair sagging areas, tape and finish seams, and get ceilings ready for primer and paint.
Send a few photos or contact us for an estimate. We will look at the ceiling and tell you the next step.